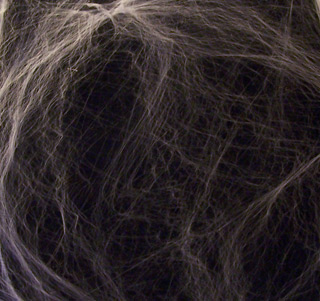
Used correctly, those
little bags of stretchable
spider web you can buy during the
Halloween season can add a great effect to certain areas of your home haunt.
There are all
sorts of places that you can add spider webs, such as between porch
posts, over windows, in corners, on furniture, over
doorways, between tree
limbs, on fences, and over or between Halloween decorations and props.
 While they are available in white, black, orange and glow-in-the-dark
green, we only
use the white colored web because it looks the most
realistic.
The only exception is if we will be using the web
under a black light and want it to glow. In this case we
will use the green colored web. While stretchable web can be used
outdoors, it is subject to the effects of weather,
particularly the wind and rain.
Many people have a difficult
time making stretchable spider web look like the real thing,
particularly on their first attempt. The most
common mistake is not stretching the web
material out far enough. They either try to stretch out the
entire bag of webbing or just pull off a big hand full and
end up with too much at one time to work with effectively. We learned a long
time ago that its all in the technique that's used and the trick is to make
very thin veils of
spider web.
 Stretchable web usually comes as
one long hank of material in the bag and this stuff really
does stretch a lot and a little goes a long way. How
much you start with will depend on how big of an area you want
to web, so you will want to experiment a little to get
the knack of using it.
The best and easiest way to work with
stretchable web is for two or more people to work together.
Begin by removing all of the web from the bag and stretch
the whole piece out. Using scissors, cut a piece off at the
length you need it to be.
Next, strip off a piece from this
smaller piece and start begin pulling the material
out slowly in all directions. The more you stretch it out,
the thinner and less dense the web becomes and more realistic it will look.
You can also twist the veils of web material slightly as you tack it
up to create irregular shapes.
Once you have it stretched out quite a bit, you will want to
attach part of it to the area you want it in, working from
the highest point to the lowest. Generally
speaking, the more anchor points you have, the better it
will look. Tape does not hold this type of web very well, so
we use tacks for small areas and a staple gun for large areas.
Once the first piece is all
tacked-up, you can add another veil a few inches over the
top of the first one. Overlapping one layer of web
over another like this looks the most realistic,
particularly in corners and between Halloween props. Once the web system is complete, add fake spiders
to finish the
effect, just remember that
stretchable spider webs won't support much weight,
so only use small light-weight plastic spiders.
An example of
using stretchable web over a large Halloween decoration or
prop, such as a body cocooned in a corner would start with
adding one or two veils of web close in to the corner. Next
you would attach the prop to the wall or suspend it from the
ceiling using fishing line. Then add more veils of web over
the prop, so that the cocooned body is actually inside the
webs, not just behind or in front of them.
|
 Real
spider web is a natural silk protein
made within the spiders body and is very
strong for its size. It has more tensile strength
than steel of equal weight and much
greater elasticity. They use this unique
material for trapping their prey,
protection from predators and for
building their home. Real
spider web is a natural silk protein
made within the spiders body and is very
strong for its size. It has more tensile strength
than steel of equal weight and much
greater elasticity. They use this unique
material for trapping their prey,
protection from predators and for
building their home. |
|